Walkthrough filming
How to Film a Property Walkthrough on Mobile
VideoMotion Studio editorial · Published 2026-09-03 · Updated 2026-09-03 · 7 min read
In brief
Walk a planned route, keep the phone in one orientation, favour daylight or even interior light, and stay within five minutes and 500 MB per clip. VideoMotion can pace the result; it cannot fix rooms you never entered.
Key takeaways
- One orientation per take.
- Four clips per project if you split exterior and interior.
- Ramps help pacing; they do not stabilise a chaotic shoot.
Plan the route
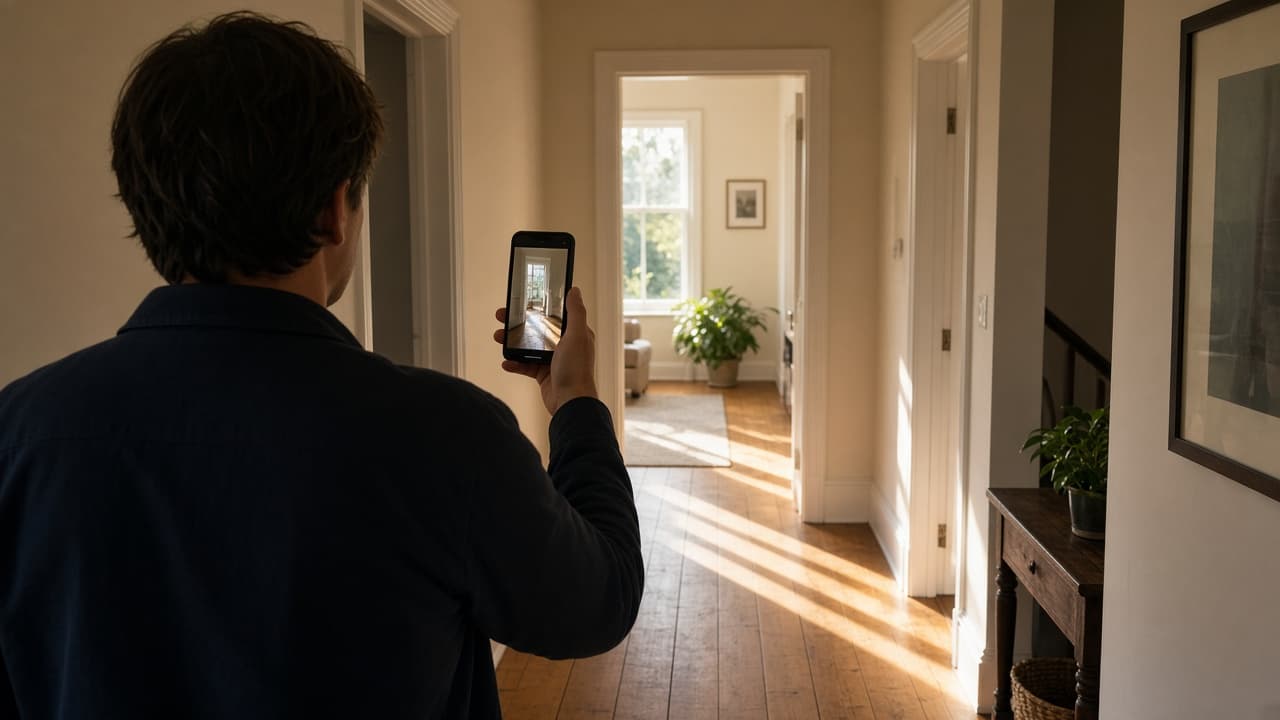
Start at the kerb or hallway, move room to room, and finish on the best exterior or garden if you have it. Sudden jumps confuse both buyers and analysis.
Hold the frame
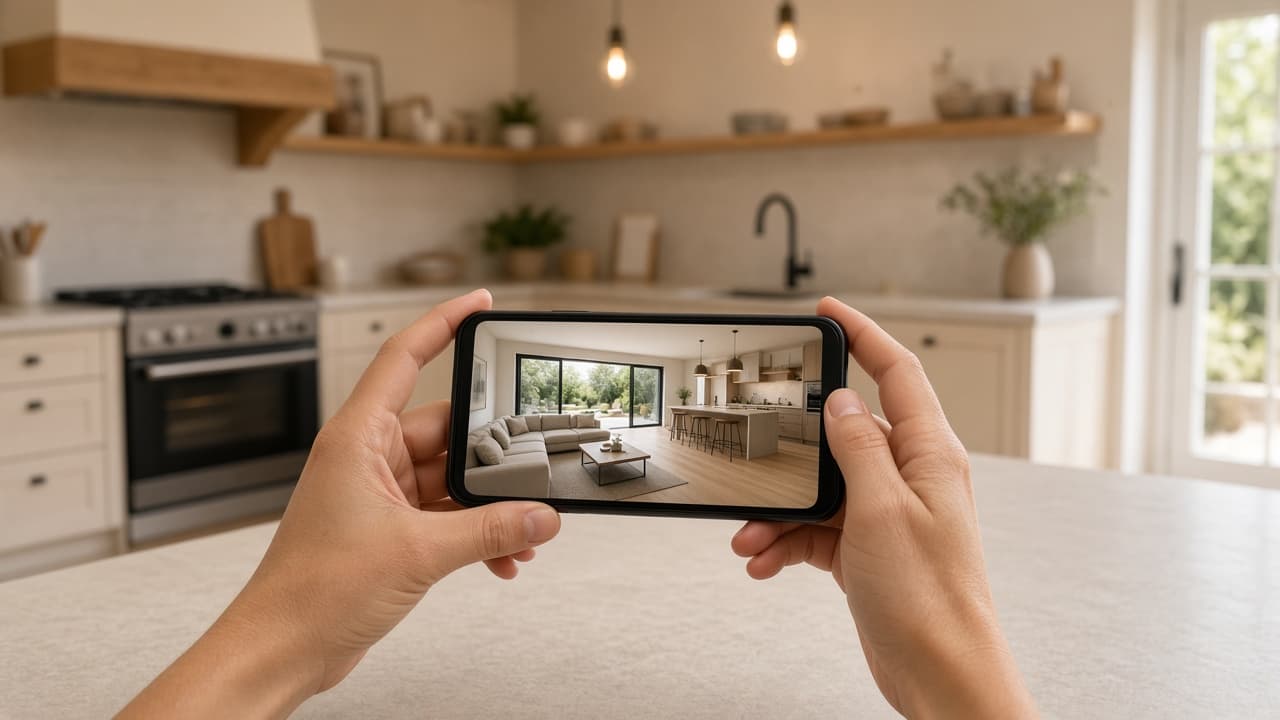
Use two hands or a simple grip. Slow turns. Pause in hero rooms. Analysis looks for those pauses as well as room types.
Stay inside the upload rules
MP4 or MOV, five minutes and 500 MB per file, four files maximum. If the visit is long, split clips rather than one huge file.
After you film
Upload in VideoMotion Studio and review ramps rather than re-filming for every social crop — unless you need a true second orientation.